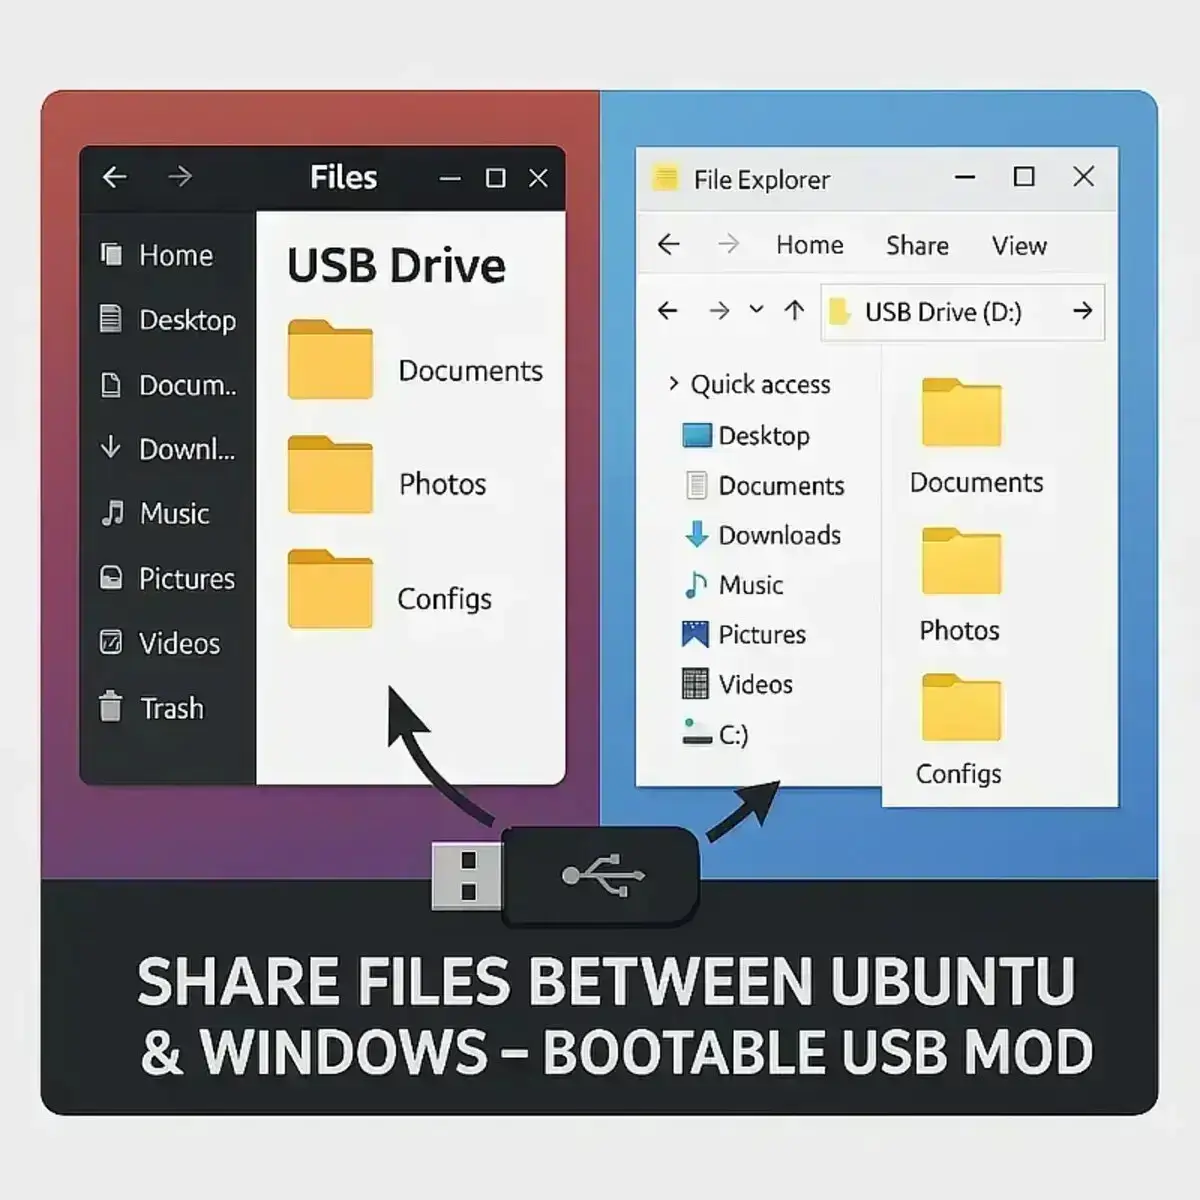
Sharing Files Between Ubuntu and Windows. Need to transfer files between Linux and Windows using a bootable USB drive? By default, Ubuntu's casper script mounts the USB drive as read-only for non-root users. This restriction prevents saving files to the USB when running Ubuntu live from a flash drive. However, with a simple file sharing tweak, you can enable full read/write access, allowing seamless file sharing across both systems.
With a quick modification to the casper script, you can unlock write permissions for the default "live" user. This means you can copy, move, and manage files directly on the USB stick, accessible from both Ubuntu and Windows.
Sharing Files Between Ubuntu and Windows on USB

Easily Transfer Files Between Ubuntu and Windows
In this step-by-step tutorial, you'll learn how to modify the initrd.lz archive to enable saving files from Ubuntu back to the USB drive. These files will remain accessible when you boot into Windows or another Linux environment.
This method works on Ubuntu versions 11.10, 11.04, 10.10, and 10.04, as well as related distributions such as Kubuntu, Linux Mint, and other Debian-based systems that utilize casper.
How This File Sharing Setup Works
Ubuntu boots using a compressed initramfs (initrd.lz) that includes the casper script responsible for mounting devices. By editing this script, you can change how the USB drive is mounted, enabling full read and write permissions for the live user. This allows you to:
- Save and access files on
/cdrom(the USB root) - Keep files available between live sessions
- Add or retrieve files on the USB from Windows or Linux
What You'll Need Before Starting
- A bootable USB with Ubuntu installed
- Basic knowledge of terminal commands
- Some time to reboot and verify changes
Enable Read/Write USB Access on Ubuntu Live
- Boot Ubuntu from your USB flash drive.
- Open a terminal and gain root privileges:
sudo su - Create and navigate to a working directory:
mkdir /projectaccess
cd /projectaccess - Extract the
initrd.lzfile:
lzma -dc -S .lz /cdrom/casper/initrd.lz | cpio -id - Edit the casper script with your preferred text editor:
gedit scripts/casper - In the editor, find the line:
home_snapshot_label="home-sn"
Just below it, add:
mountmode="ro, noatime" - Depending on your Ubuntu version, locate:
- For 10.04 or 10.10:
IGNORE_UUID="Yes" ;; - For 11.04 or 11.10:
UUID="" ;;
Directly underneath, add:
basemountmode=*)

mountmode="${x#basemountmode=}";; - For 10.04 or 10.10:
- Find this section:
if is_supported_fs ${fstype}; then
And modify the mount command below it to:
mount -t ${fstype} -o ${mountmode} "${devname}" $mountpoint || continue - Save your changes and return to the terminal.
- Rebuild the
initrd.lzfile:
find . | cpio -o -H newc | gzip -9 > initrd.lz - Copy the modified file back to the USB:
cp initrd.lz /cdrom/casper - Edit the boot configuration:
gedit /cdrom/syslinux/txt.cfg - Locate the first
appendline and replace:
initrd=/casper/initrd.lz
with:
initrd=/casper/initrd.lz basemountmode=ro, noatime, uid=999, gid=999 - Note: On Ubuntu 10.04, the configuration file may be named
text.cfg. - Save and exit the editor.
- Reboot your system and boot again from the USB drive.
What You Can Do After This Setup
- Save documents, media files, or configurations from Ubuntu directly to your USB.
- Access files that you have added in Windows from the Ubuntu live environment.
- Create a file-sharing environment without the need for a separate persistent partition.
Troubleshooting Tips
- Files not saving to /cdrom? Double-check your edits in the
casperscript and themountmodesettings. - Permission denied errors? Confirm you're using
uid=999, gid=999to match the live user's permissions. - File system is read-only? Ensure the USB is formatted with a writable file system like FAT32.
Frequently Asked Questions
Can I use a bootable USB to transfer files between Ubuntu and Windows?
Yes. By modifying the casper script, you enable read/write access on the USB, allowing file transfers between both operating systems.
Why can't I write files to my Ubuntu live USB by default?
Ubuntu Live mounts the USB drive as read-only for non-root users by default. This guide shows how to override that setting.
Is this method better than using persistence for sharing files?
For quick file transfers, yes. It lets you share files without needing a separate persistent partition like casper-rw.
Does this work on Linux Mint or other Ubuntu based distros?
Yes. This sharing files approach applies to Kubuntu, Linux Mint, and other Debian-based distributions that use the casper system.
Final Thoughts on Sharing Files in Linux and Windows
With this sharing files tweak, your Ubuntu Live USB becomes both a portable operating system and a versatile file sharing device. You can easily carry data between computers, modify configurations on the go, or back up important files. Thanks to Julian Chennales for the original method shared on Pendrive Linux, and Lance for maintaining updates.
Bonus Tips: Want persistence too? Check out YUMI exFAT for booting multiple ISOs and saving session data. For more details, see the official casper documentation.
