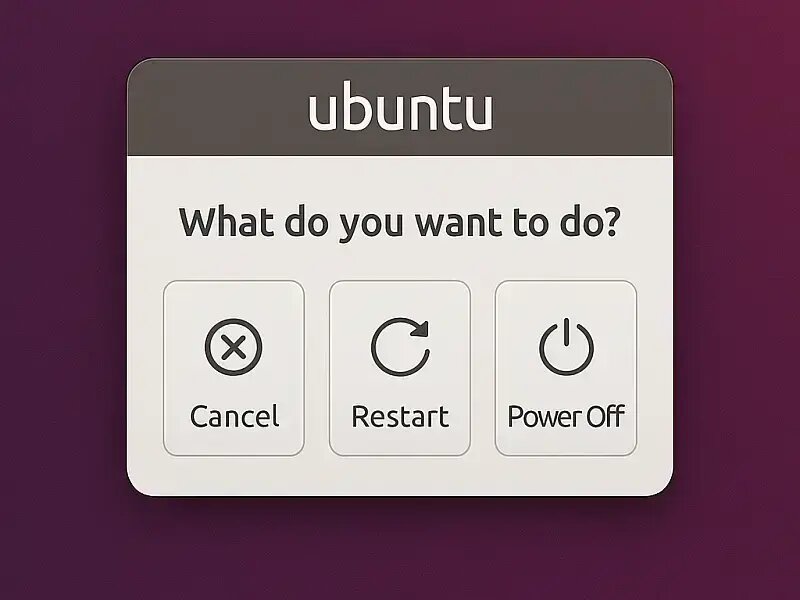
Prompt to eject CD: How to Bypass or Remove the "Please Remove the Disk and Press Enter" Prompt in Ubuntu. If you're booting Ubuntu from a USB drive and tired of seeing the "Please remove the disk, close the tray (if any) and press ENTER to continue" message every time you shut down or restart, you're not alone. This tutorial will walk you through how to remove the eject CD prompt in Ubuntu entirely. It's especially useful for users running Ubuntu from a bootable USB drive, as there's no CD to eject in that case.

Why Does Ubuntu Ask You to Remove the CD?
Ubuntu assumes it was booted from a CD-ROM, and during shutdown, it prompts users to eject the disc to prevent reboot loops. However, when you're booting from a USB flash drive, this prompt is not only unnecessary; it can be annoying and disrupt automated shutdowns or reboots. Thankfully, there's a way to bypass this prompt to eject CD since were actually booting from a Live USB.
Why You Should Remove the Prompt to Eject CD
- Speeds up system shutdowns and reboots
- Removes unnecessary prompts for USB boot users
- Improves user experience for live and persistent USB installations
Requirements to Remove Prompt to Eject CD
Before you begin, make sure you have the following:
- A Ubuntu Live USB installation
- A system with a CD-ROM drive (even if unused)
- Another USB flash drive or hard drive partition formatted as
ext2orext3with at least 3–4 GB of free space
Quick Tip for Newer Ubuntu Versions
For modern versions of Ubuntu or Debian, there's a simpler solution. Just edit your boot configuration and add noprompt to the kernel append line in your syslinux.cfg or grub.cfg file. This enables you to bypass the CD eject prompt without requiring any filesystem modifications.
How to "Remove Disk and Press Enter" Prompt
This method is best for older Ubuntu versions that rely on casper scripts. Follow the steps below:
- Boot from your Ubuntu Live USB
Insert your USB stick and reboot your PC. Use the appropriate BIOS Hotkey to enter BIOS and set it to boot from USB. - Open a terminal
Once booted into Ubuntu Live, pressCtrl+Alt+Tto open a terminal window. - Identify your USB or partition
Run the following command to list your drives and partitions:sudo fdisk -l - Mount your ext2/ext3 partition
Replacesdx#with the actual partition ID found in the previous step:sudo mkdir /c && sudo mount /dev/sdx# /c - Mount the squashfs and extract the filesystem
sudo mount -o loop -t squashfs /cdrom/casper/filesystem.squashfs /mntsudo mkdir /c/fixsudo rsync -avx -P /mnt/. /c/fix/.sudo umount /mnt - Remove casper shutdown scripts that trigger the CD eject prompt
sudo rm -r /c/fix/etc/rc0.d/*caspersudo rm -r /c/fix/etc/rc6.d/*casper - Regenerate the initrd.gz
sudo chroot /c/fix /bin/bashsudo mkinitramfs -o /new-initrd.gz 2.6.20-15-genericexitsudo mv /c/fix/new-initrd.gz /c/initrd.gz - Rebuild the new filesystem.squashfs
sudo apt-get install squashfs-toolssudo mksquashfs /c/fix /c/filesystem.squashfs -noappend -always-use-fragments - Replace your existing squashfs and initrd.gz
Copy the newfilesystem.squashfsandinitrd.gzback to your bootable USB, overwriting the original files in the/casperdirectory. - Reboot and enjoy a cleaner shutdown
Your Ubuntu Live USB should now shut down or restart without prompting you to remove the disk. No more interruptions!
Conclusion
By following this guide, you’ve effectively learned to disable or bypass eject CD prompt from your Ubuntu Live USB setup. This small change can significantly improve your system’s reboot and shutdown process, making your portable Ubuntu experience more seamless and efficient. If you found this post helpful, you might also be interested in learning How to Boot Ubuntu From RAM or Create a Persistent Ubuntu USB Drive.
Feel free to contact us to let us know if you encountered any issues or have suggestions to improve this post on how to remove prompt to eject CD!
