
The following tutorial explains how to create a bootable gOS USB flash drive using Windows. You can use either the popular Universal USB Installer or the command-line utility dd for Windows to get the job done. Both methods allow you to run gOS directly from a USB flash drive.
gOS is a lightweight Debian based Linux distribution that builds upon Ubuntu and features the Enlightenment window manager (E17), giving it a sleek and modern interface reminiscent of macOS X Leopard (10.5). Known for its elegant look and simplicity, gOS was once pre installed on Everex computers sold through Walmart, making it a widely accessible entry level Linux OS. Although the project has been discontinued and no longer receives official updates, it remains a fun to use visually appealing operating system; especially when run from a portable USB stick.
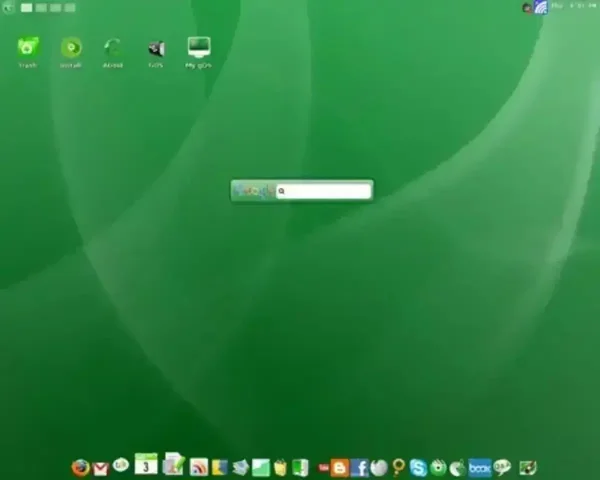
gOS Running from a Bootable USB Drive
Distribution Home Page: Archived Home Page
Minimum Flash Drive Capacity: 1GB
Persistent Feature: No (see link for persistence tutorial below.)
Essentials:
- gOS ISO file
- Universal USB Installer or dd for Windows
- USB Flash Drive (1GB or larger)
- A Windows PC to perform the build
How to Create a gOS Bootable USB via Windows
Note: This method installs gOS in Live mode only. Persistent storage is not included here.
Method 1: Universal USB Installer
- Download the Universal USB Installer and launch the application.
- Select your USB flash drive from the list.
- Choose "Try Unlisted ISO" from the distribution menu and follow the prompts.
- Browse to your ISO file, then continue the process to write the image to your USB.
- Once the process completes, reboot your PC and access the Boot Menu or BIOS to boot from the USB drive.
If everything was done correctly, gOS should now load directly from your USB flash drive.
Method 2: Using dd for Windows
You can also use the dd command in Windows to directly write the ISO to your USB device. Use this with caution as it will overwrite the target drive completely.
- Download and install dd for Windows.
- Open a Command Prompt with administrator privileges.
- Identify your USB flash drive using the following steps:
diskpart
list disk
Note the disk number that matches your USB drive (e.g., Disk 2).
- Exit
diskpartby typing:exit
- Now run the dd command, replacing
path-to-gos.isoandXwith your actual ISO + path and disk number:dd.exe if=path-to-gos.iso of=\\.\PhysicalDriveX bs=4M status=progress
- Once the process finishes, safely eject the USB drive. Reboot and enter the BIOS or Boot Menu to boot into gOS from USB.
Troubleshooting and Tips
- If your USB doesn't boot, make sure it's formatted properly before starting.
- Double check the boot order in BIOS and ensure USB boot is enabled.
- Try another USB port or a different flash drive if issues persist.
- Re-download the ISO if you're unsure it's intact.
gOS Bootable USB Final Thoughts
Creating a bootable USB drive offers a convenient way to experience a lightweight and user friendly Linux distribution. Whether you're exploring a new operating system, testing out features, or need a portable environment, having a bootable USB drive provides both flexibility and portability. While the setup process may seem intimidating at first, using tools like Universal USB Installer or dd for Windows simplifies the process and makes it accessible to most users.
No matter which method you choose, the ability to boot and run directly from a USB drive is an invaluable skill, especially in situations where portability is key. If you're seeking a simple, no-installation option to try a new operating system, a bootable USB drive is an excellent place to start.
Enjoy exploring gOS from a bootable USB flash drive – the ideal way to experience this stylish and nostalgic Linux variant while on the go!