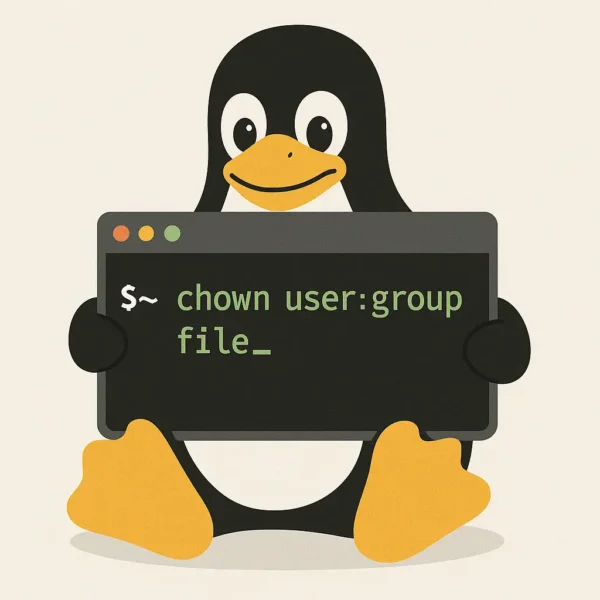
Easily Change Ownership of File or Directory in Linux. Changing file or directory ownership in Linux is a common administrative task. Whether you're managing a server, developing software, or organizing personal files, understanding how to use the chown command effectively is essential. This guide will walk you through the process, explain its syntax, and provide practical examples.

What is the chown Command in Linux?
The chown command, short for "Change Owner, " is a powerful Linux utility that allows you to modify the ownership of files and directories. Ownership in Linux is determined by a user and optionally a group. Adjusting these permissions is crucial for maintaining security, organization, and functionality in your Linux environment.
Basic Syntax of the chown Command
The general syntax of the chown command is straightforward:
sudo chown [options] new_owner[:group] file_or_directory| Term | Description |
|---|---|
sudo |
Used to run the command with administrative privileges. Superuser permissions are often necessary for changing ownership. |
new_owner |
The username or UID of the new owner of the file or directory. |
group |
(Optional) Specifies the new group name or GID. If omitted, the group remains unchanged. |
file_or_directory |
The path to the file or directory whose ownership you want to change. |
How to Change Ownership of Files in Linux
To modify file or directory ownership, follow these steps. Ensure you have appropriate root or superuser permissions before proceeding.
- Open a Terminal. In Ubuntu or Debian-based systems, press Ctrl + Alt + T to launch the terminal.
- Check Current Ownership (Optional)
Before changing ownership, you can verify the existing owner and group with the following command:ls -l filename.txtThis displays detailed information about the file, including permissions, owner, and group.
- Change Ownership
To change the ownership of a file, use thechowncommand. For instance, to transfer ownership of "filename.txt" to the user "john, " run:sudo chown john filename.txt
More Examples of Using the chown Command
Here are some practical examples for modifying ownership in different scenarios:
Change Ownership to a Specific User and Group
To assign "john" as the owner and "users" as the group of a file:
sudo chown john:users filename.txtChange Ownership of an Entire Directory
To set "alice" as the owner and "developers" as the group for a directory and its contents:
sudo chown -R alice:developers /path/to/directory/Change Only the Owner, Keeping the Group Unchanged
To change the owner of a directory to "michael" while leaving the group as is:
sudo chown michael /path/to/directory/Change Ownership Based on Current Ownership
To ensure ownership changes only apply to files owned by a specific user:
sudo chown --from=old_owner new_owner file_or_directoryChanging Ownership for Symbolic Links
To modify ownership for symbolic links without affecting their target:
sudo chown --no-dereference new_owner symbolic_linkPractical Use Cases for the chown Command
The chown command is indispensable in scenarios such as:
Multi-User Environments: On a shared server, files often need to be reassigned to match user access requirements. For example, when a project team member leaves, ownership of their files can be transferred to a new team member.
Server Administration: Web server files often need ownership changes to match the web server process. For instance:
sudo chown www-data:www-data /var/www/html/This ensures that the server has the necessary permissions to serve web pages correctly.
Automating Tasks: Scripts that generate files under root may need ownership changes to allow users to access and modify the files without needing superuser privileges.
Troubleshooting Common Issues with chown
While chown usage is straightforward, users may encounter issues, such as:
Permission Denied: This occurs when the sudo command isn't used or the user lacks superuser privileges. Always prepend sudo for administrative tasks.
"Invalid User" Error: This happens when the specified username doesn't exist. Verify users on the system with:
cat /etc/passwdRecursive Overwrites: Using the -R option carelessly can alter ownership for unintended files, particularly in critical directories like /etc. Double-check the directory path before running the command.
Advanced Options in chown
Preserve Attributes: To preserve symbolic links without affecting the target files, use the --no-dereference flag:
sudo chown --no-dereference new_owner symbolic_linkChange Ownership Based on Ownership Patterns: The --from option ensures ownership changes only apply to files with specific current ownership:
sudo chown --from=old_owner new_owner fileDry Run: Test your command without applying changes using the -v (verbose) option. For example:
sudo chown -v new_owner:group fileAdditional Resources
Linux chown Command Manual
Understanding Linux File Permissions
Conclusion
The chown command is a vital tool for Linux administrators and users. By mastering its usage, you can efficiently manage file and directory permissions, ensuring your system is secure and well-organized. Whether you're changing ownership for a single file or an entire directory tree, chown provides the flexibility and precision you need.
If you found this particular Linux beginners guide helpful, feel free to share it with others!
